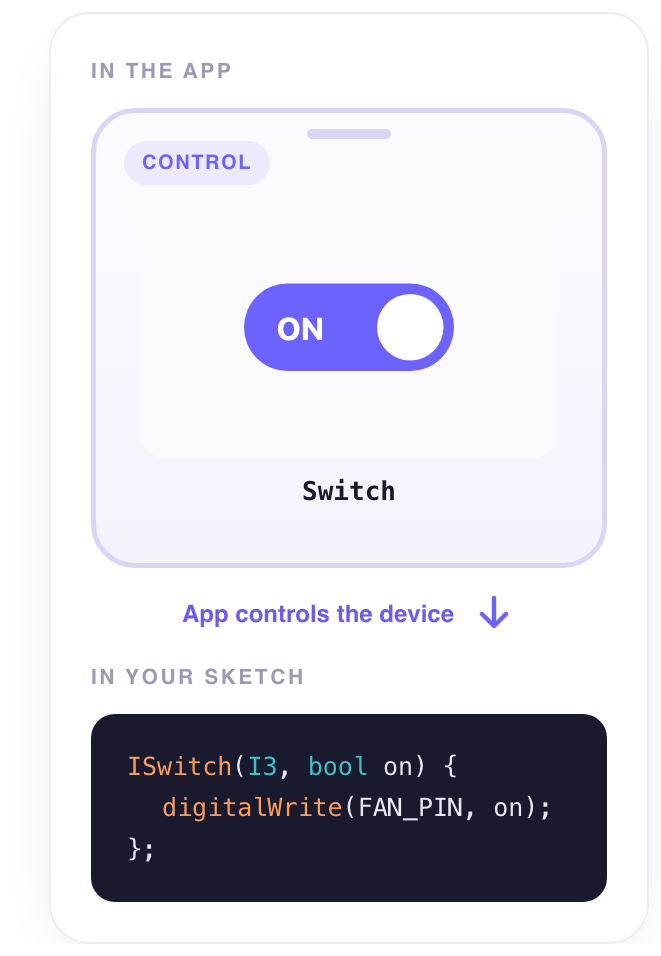
On or off. A relay, a lamp, a pump, a heater. The switch is the widget for a state that stays — and with one setting on the signal, a state the device finds again by itself after a power cut.
What it does
A tap flips it and writes the On value (1) or the Off value (0) to its signal. Unlike a button, a switch is its position: the app shows it on or off, and the device can be asked to hold that position across restarts (Restore after a restart on the signal).
When to use it
- A relay — lamp, pump, fan, heater. The classic.
- Enable / disable something the device does on its own — automatic watering on or off.
- A state you want back after a reboot — see
ISignalbelow.
Set it up
- Place it — In edit mode, tap + at the bottom of the dashboard and choose Switch under Controllers.
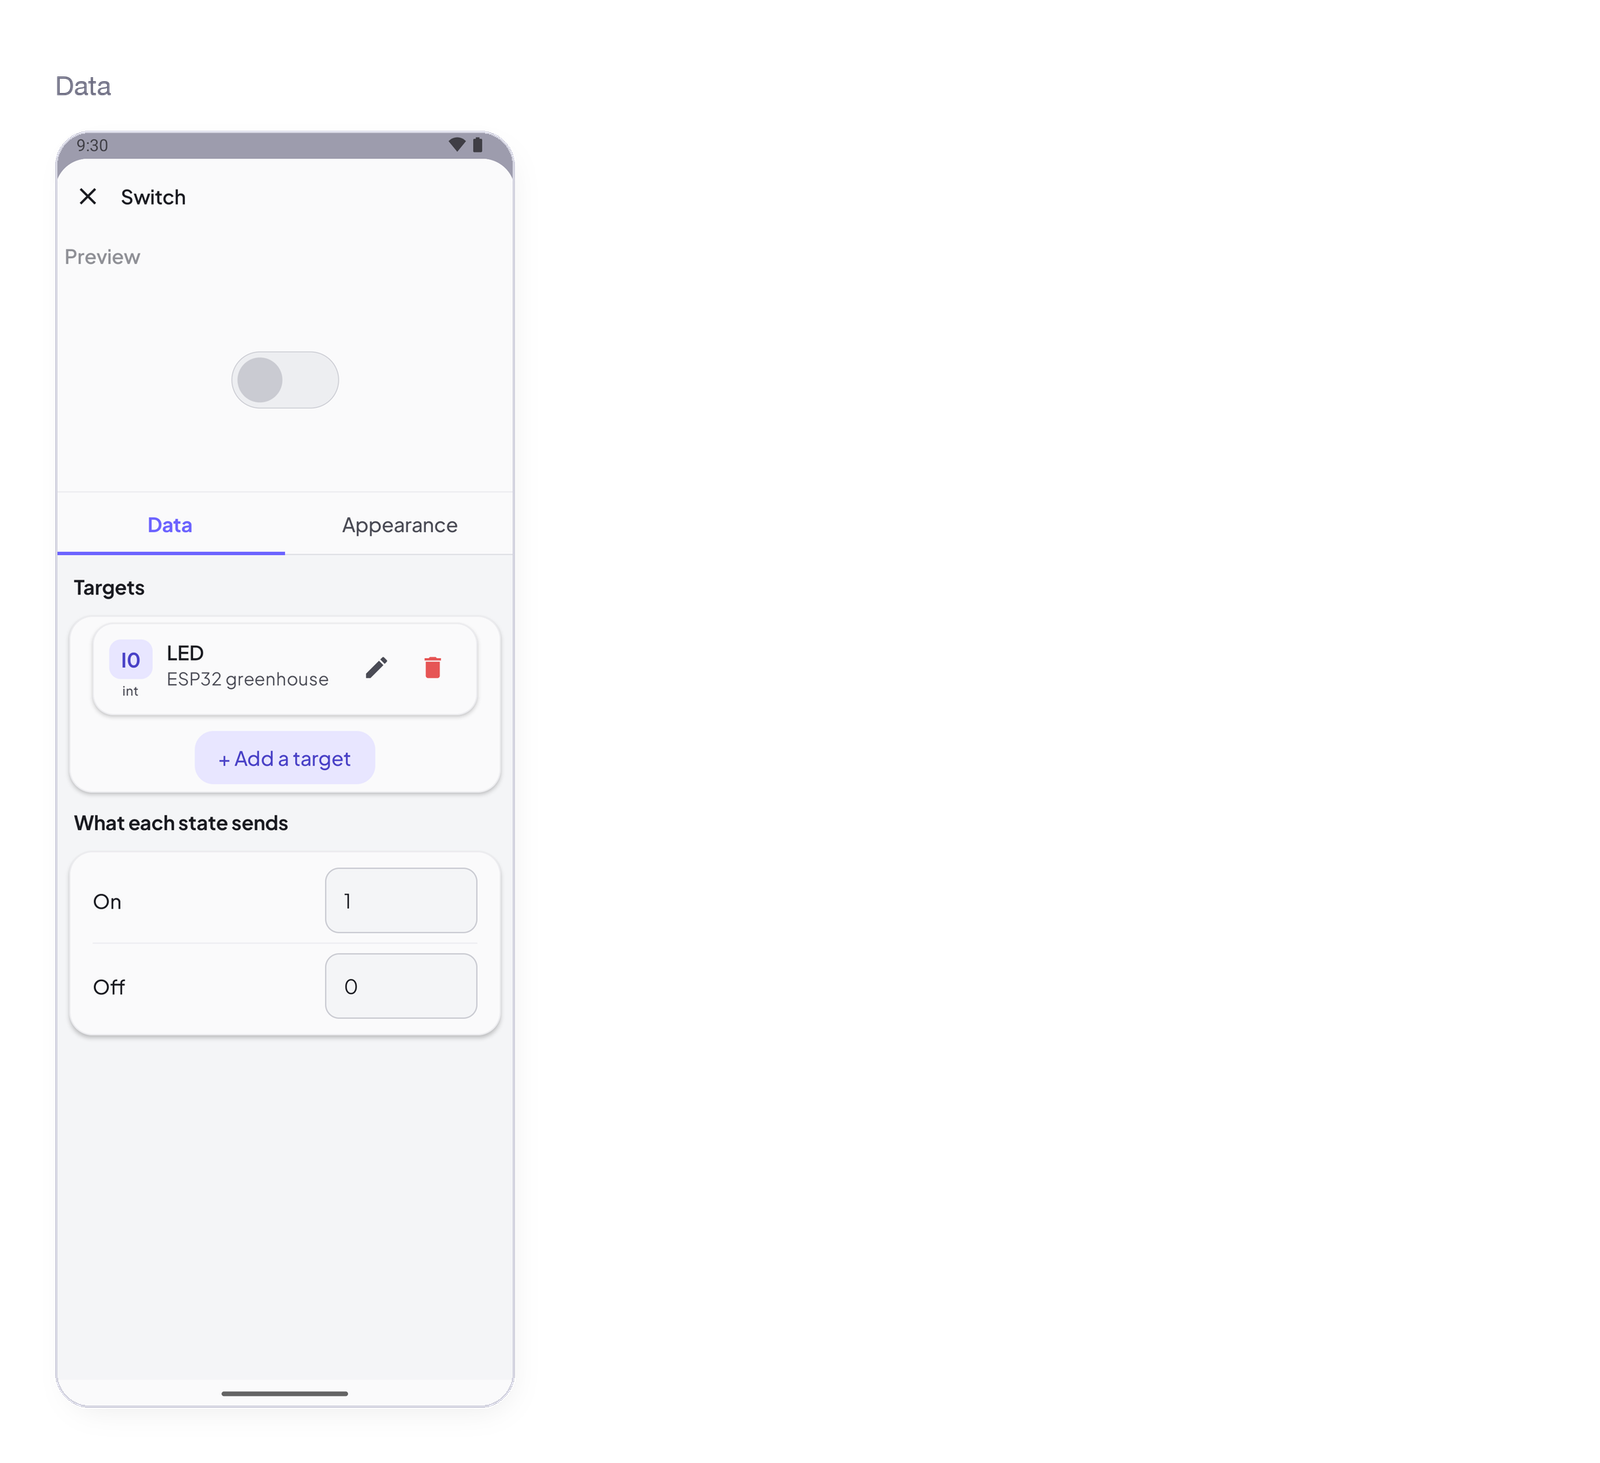
- Wire it to a signal — Tap the switch, open the Data tab, tap + Add a target and pick an Integer signal on your device — Pump, for example.
- Check the values — In the same tab, under What each state sends, the switch sends
1when on and0when off. Change them if your device expects something else. - Try it — Close the settings, tap ▶, and tap the switch: the device receives
1. Tap again:0.
Settings
Tap the widget in edit mode: the sheet opens with a live preview at the top, then two tabs — Data for what it reads or writes, Appearance for how it looks.
Data — what it writes
Targets
| Setting | Type | Default | What it controls |
|---|---|---|---|
| Targets | list of signals | empty — No target yet. The tap goes nowhere. | The signal the widget writes to. Accepts an Integer or Decimal signal — Integer in practice: 1 and 0. The picker lists nothing else. + Add a target for a second device: every target gets the value. |
What each state sends
| Setting | Type | Default | What it controls |
|---|---|---|---|
| On | number | 1 |
The value written when the switch goes on. |
| Off | number | 0 |
The value written when it goes off. 255 and 0 for a PWM, say. |
Appearance — how it looks
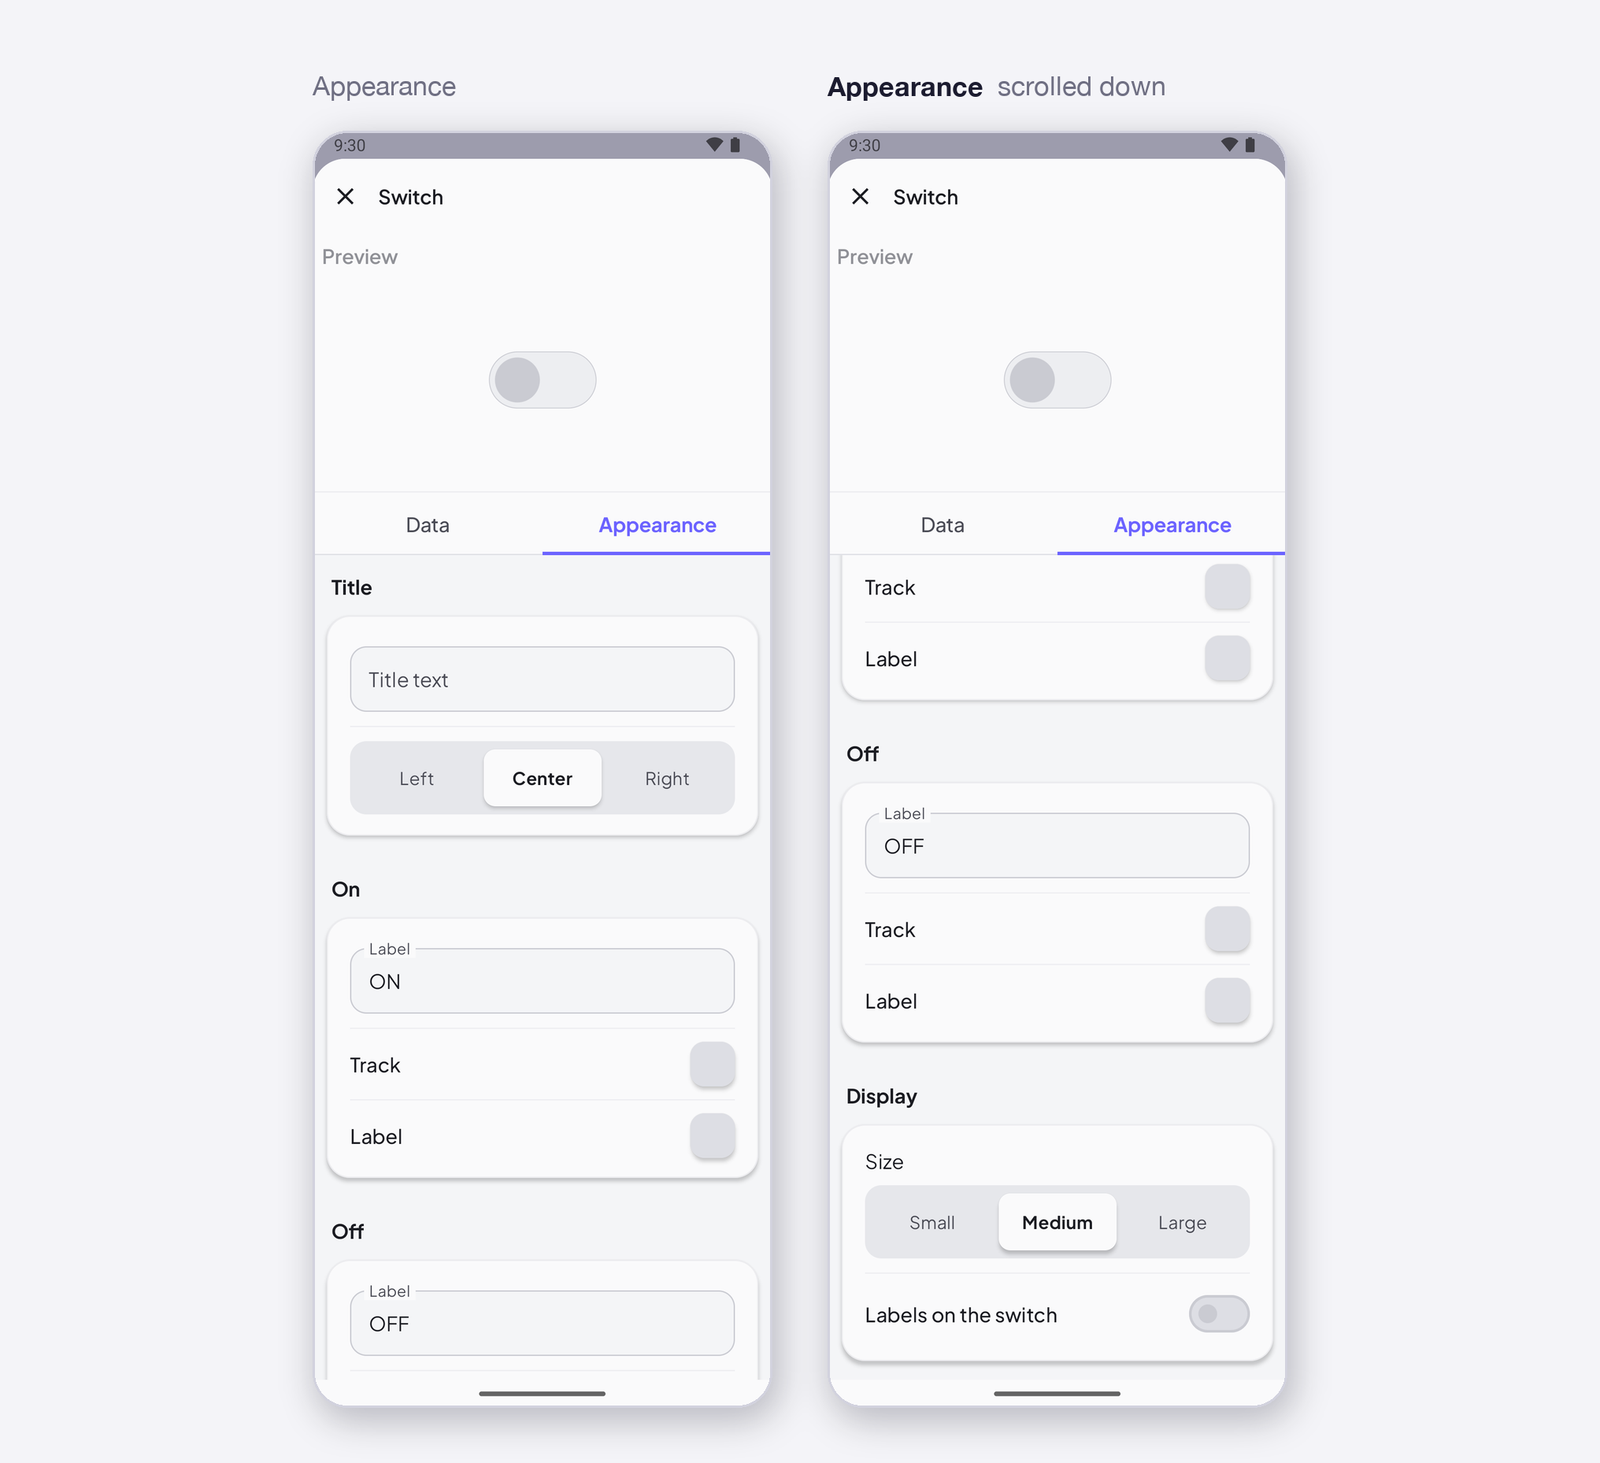
Title
| Setting | Type | Default | What it controls |
|---|---|---|---|
| Title text | text | empty | A title above the widget. Empty means no title. |
| Alignment | Left / Center / Right | Center | Where the title sits. |
On
| Setting | Type | Default | What it controls |
|---|---|---|---|
| Label | text | ON | The text shown for the on position. |
| Track | colour | theme accent | The track while on. |
| Label | colour | theme | The label colour while on. |
Off
| Setting | Type | Default | What it controls |
|---|---|---|---|
| Label | text | OFF | The text for the off position. |
| Track | colour | theme | The track while off. |
| Label | colour | theme |
Display
| Setting | Type | Default | What it controls |
|---|---|---|---|
| Size | Small / Medium / Large | Medium | The size of the switch on the grid. |
| Labels on the switch | toggle | off | Print ON / OFF on the track itself. |
States
- On — track in the accent colour, knob to the right. Off — grey, knob to the left.
- Set by the device or a rule — the switch follows: if the device writes
InstantIoT.write(I3, 1), or a rule sets the signal, the switch moves on the dashboard. - Device offline — with
ISignaland Restore, the position comes back on reconnect.
Arduino device code
The address is all the device knows — I3 here; use the one the app gave your signal. In the sketch, the block receives the position:
ISwitch(I3, bool on) { … };
Complete sketch — Cloud
Paste it into the Arduino IDE, put your Wi-Fi and the token the app gave you, upload.
#include <InstantIoT.h>

const char* WIFI_SSID    = "MyWiFi";
const char* WIFI_PASS    = "MyPassword";
const char* DEVICE_TOKEN = "PASTE_TOKEN_HERE";

const int RELAY = 5;

ISwitch(I3, bool on) {
    digitalWrite(RELAY, on);
};

void setup() {
    Serial.begin(115200);
    pinMode(RELAY, OUTPUT);
    InstantIoT.begin(WiFiLink(WIFI_SSID, WIFI_PASS), Cloud(DEVICE_TOKEN));
}

void loop() {
    InstantIoT.loop();
}
Other connections
The widget block never changes. Only the begin() line says how the device reaches the app:
| Connection | begin() |
Devices |
|---|---|---|
| Cloud over Wi-Fi (above) | InstantIoT.begin(WiFiLink("MyWiFi", "secret"), Cloud(DEVICE_TOKEN)); |
ESP32 family, ESP8266, UNO R4 WiFi, MKR WiFi 1010, Nano 33 IoT, UNO WiFi Rev2 |
| Cloud over Ethernet | InstantIoT.begin(EthernetLink(), Cloud(DEVICE_TOKEN)); |
any board + an Ethernet shield |
| Direct — the device’s own Wi-Fi | InstantIoT.begin(AccessPoint("MyESP32", "12345678")); |
every board with Wi-Fi |
| Direct — Bluetooth LE | InstantIoT.begin(BLELink("MyESP32")); — #include <NimBLEDevice.h> first |
ESP32 family (not the S2) |
| Direct — Bluetooth Classic | InstantIoT.begin(BluetoothLink("MyESP32")); |
the original ESP32, Android only |
| Direct — a Bluetooth module (HC-05, HM-10) | InstantIoT.begin(SerialLink(Serial1)); — or SerialLink(13, 15) on ESP8266, SerialLink(10, 11) on UNO / Nano |
every board, radio or not |
| Your own InstantIoT Server (open source, at home) | InstantIoT.begin(WiFiLink("MyWiFi", "secret"), MyServer("192.168.1.42", DEVICE_TOKEN)); |
same as Cloud |
Direct needs no token: the phone is at the other end of the wire. See Connect for TLS, timeouts and what to do when it does not connect.
ISignaldoes the same job — and survives a restart.ISignal(I3, bool v)runs with exactly the same value asISwitch(I3, bool on): the widget block is the readable form,ISignalthe generic one, and you can use either. The difference shows when the device reconnects: with Restore after a restart on the signal, the Cloud sends the last value again and only theISignalblock runs — a switch position is the typical state. WriteISignal(I3, bool on)and turn Restore after a restart on: the pump that was running before the power cut is running again when the device comes back, with nobody’s phone open. See One block for everything.
Notes
- Declare the signal as Integer.
boolin the block reads0as false and anything else as true. - A rule can flip the same signal at 7 pm — Set a signal — and the switch on the dashboard follows.
- An LED on the same signal shows what the device actually did, if the device writes back.
Next
→ Segmented Switch — more than two positions → LED — to show the state the device reports