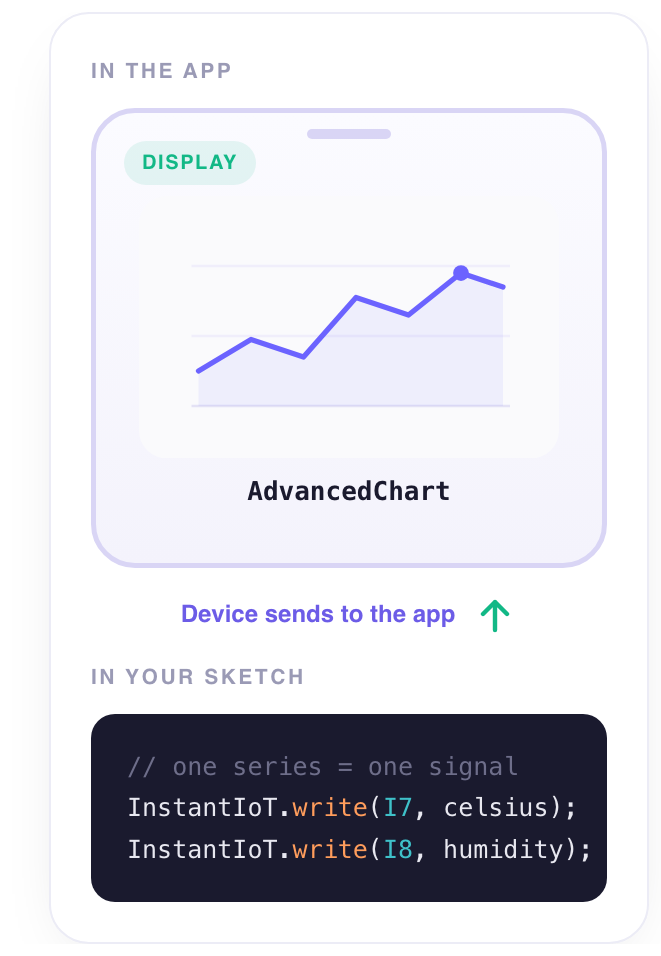
A curve over time — live, or the last hour, day, week. One signal or several on the same axes. This is the widget that turns a stream of readings into a trend you can read: it has been rising since noon.
What it does
In LIVE it draws the values as they arrive, keeping the last N points. In the other ranges it draws the history the Cloud keeps for the signal — minute, hour and day averages — so you need a signal with Curves history (device → signal → Advanced → History). For each history bucket you choose what is drawn: the average, the minimum, the maximum or the sum. Several signals can share the chart, each with its own colour and label.
When to use it
- A trend — temperature over the day, humidity over the week.
- Two things together — inside and outside temperature on the same axes.
- Totals — with Sum, a flow meter becomes litres per hour.
Set it up
- Turn on the history — A chart draws the history the Cloud keeps, so the signal needs one. Tap the device icon, open the signal, and under Advanced set History to Curves. Without it, only the LIVE range has anything to show.
- Place it — Back on the dashboard, tap + and choose Advanced Chart under Displays. Twelve columns wide and eight rows tall gives the curve room.
- Add the signals — Tap the chart, open the Data tab, and tap + Add a signal for each signal you want on the chart — one, or several on the same axes.
- Pick the time ranges — In the Appearance tab, under Time ranges, tick the ranges you want as chips on the chart: LIVE, 1h, 24h, 7 d. The chart opens on the first ticked one.
Settings
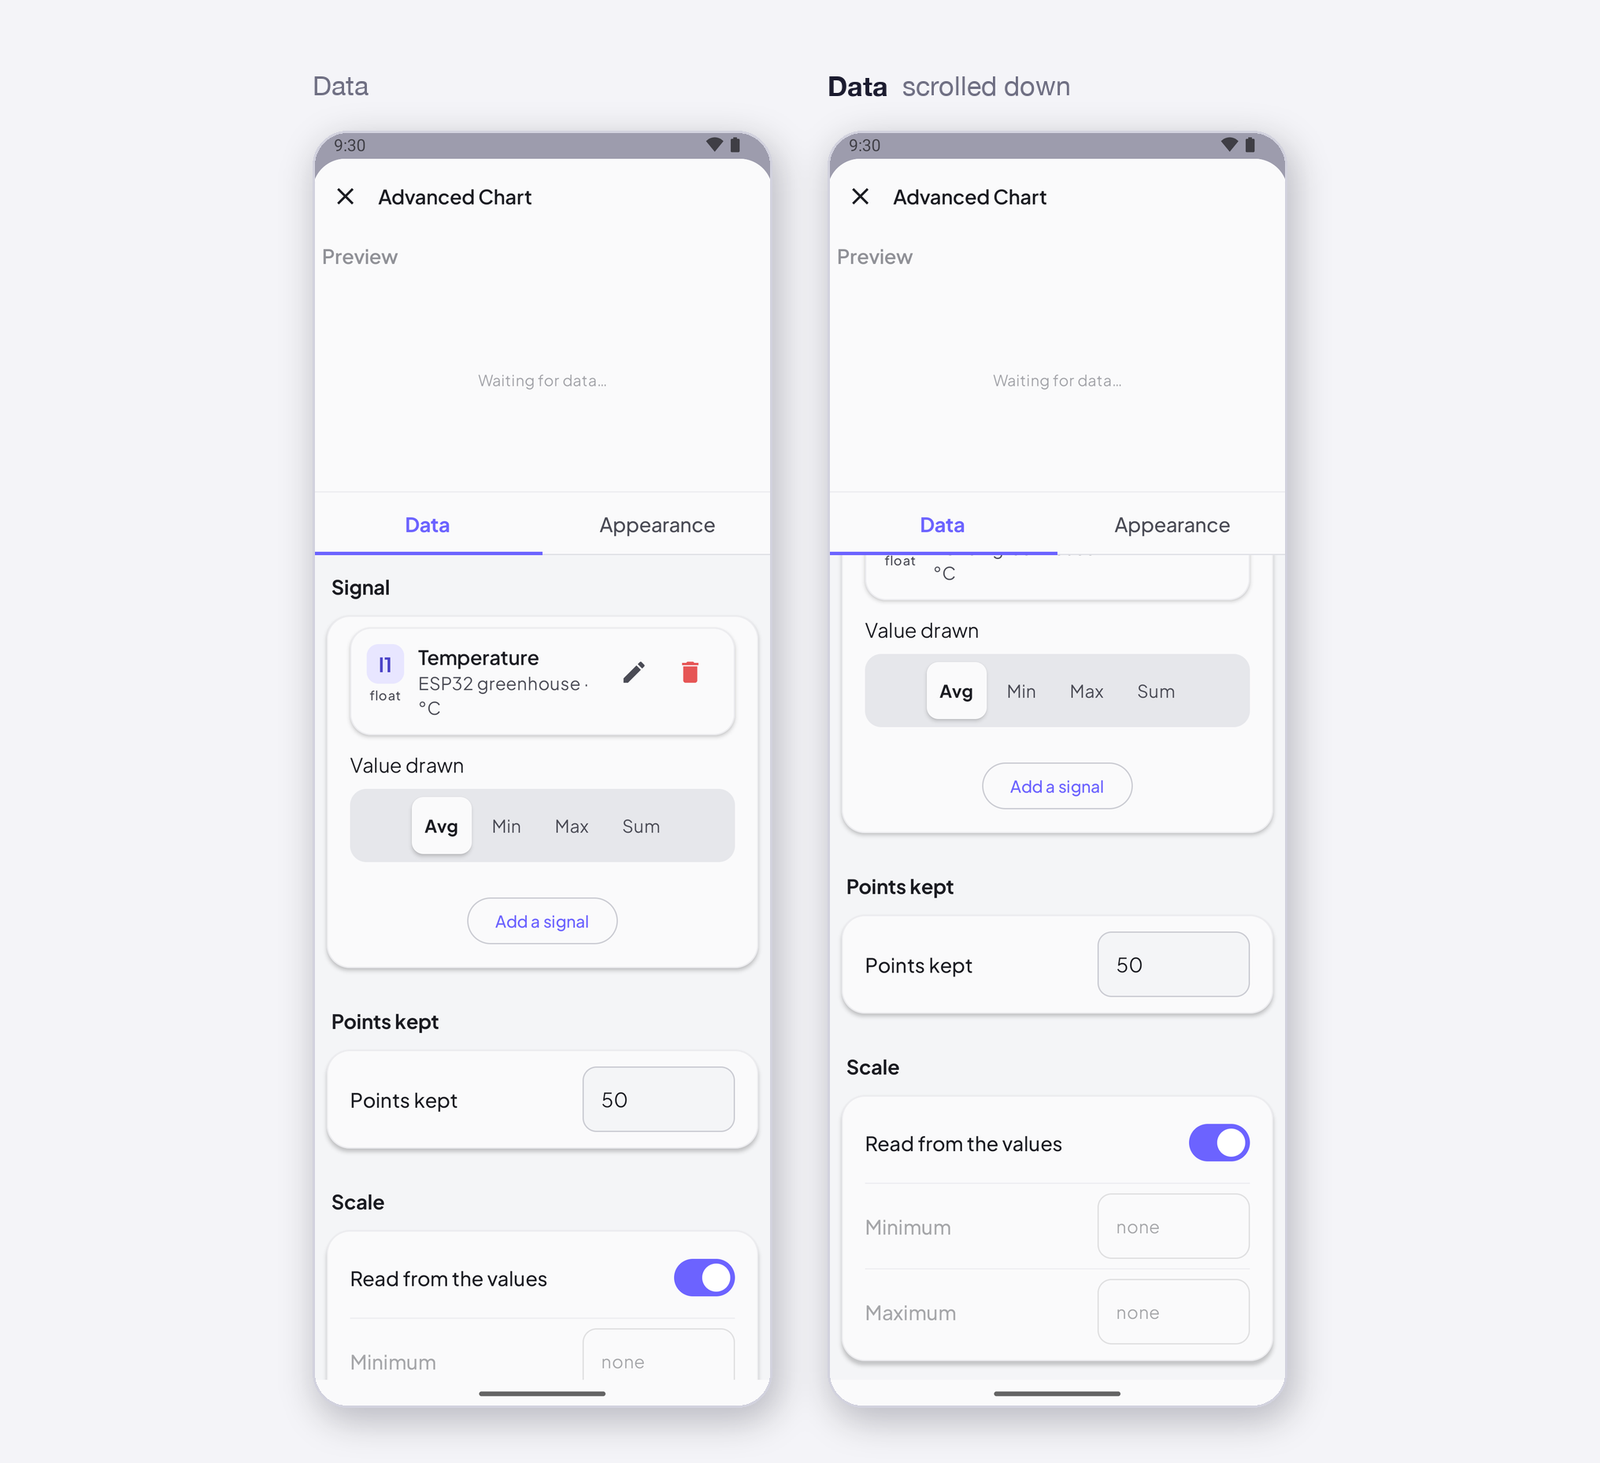
Tap the widget in edit mode: the sheet opens with a live preview at the top, then two tabs — Data for what it reads or writes, Appearance for how it looks.
Data — what it reads
Signal
| Setting | Type | Default | What it controls |
|---|---|---|---|
| Signal | list of signals | empty | The signals it draws. Accepts Integer or Decimal signals. + Add a signal for several curves on the same axes. |
Value drawn
| Setting | Type | Default | What it controls |
|---|---|---|---|
| Value drawn | Avg / Min / Max / Sum | Avg | What is drawn for each history bucket. Avg for a temperature, Max for a peak, Sum for a counter. |
Points kept
| Setting | Type | Default | What it controls |
|---|---|---|---|
| Points kept | number | 50 |
How many points stay on screen in LIVE before the oldest scroll off. |
Scale
| Setting | Type | Default | What it controls |
|---|---|---|---|
| Read from the values | toggle | on | The vertical axis fits the data. |
| Minimum / Maximum | numbers | none | A fixed vertical axis, when the toggle is off. |
Appearance — how it looks
Title
| Setting | Type | Default | What it controls |
|---|---|---|---|
| Title text | text | empty | A title above the widget. Empty means no title. |
| Alignment | Left / Center / Right | Center | Where the title sits. |
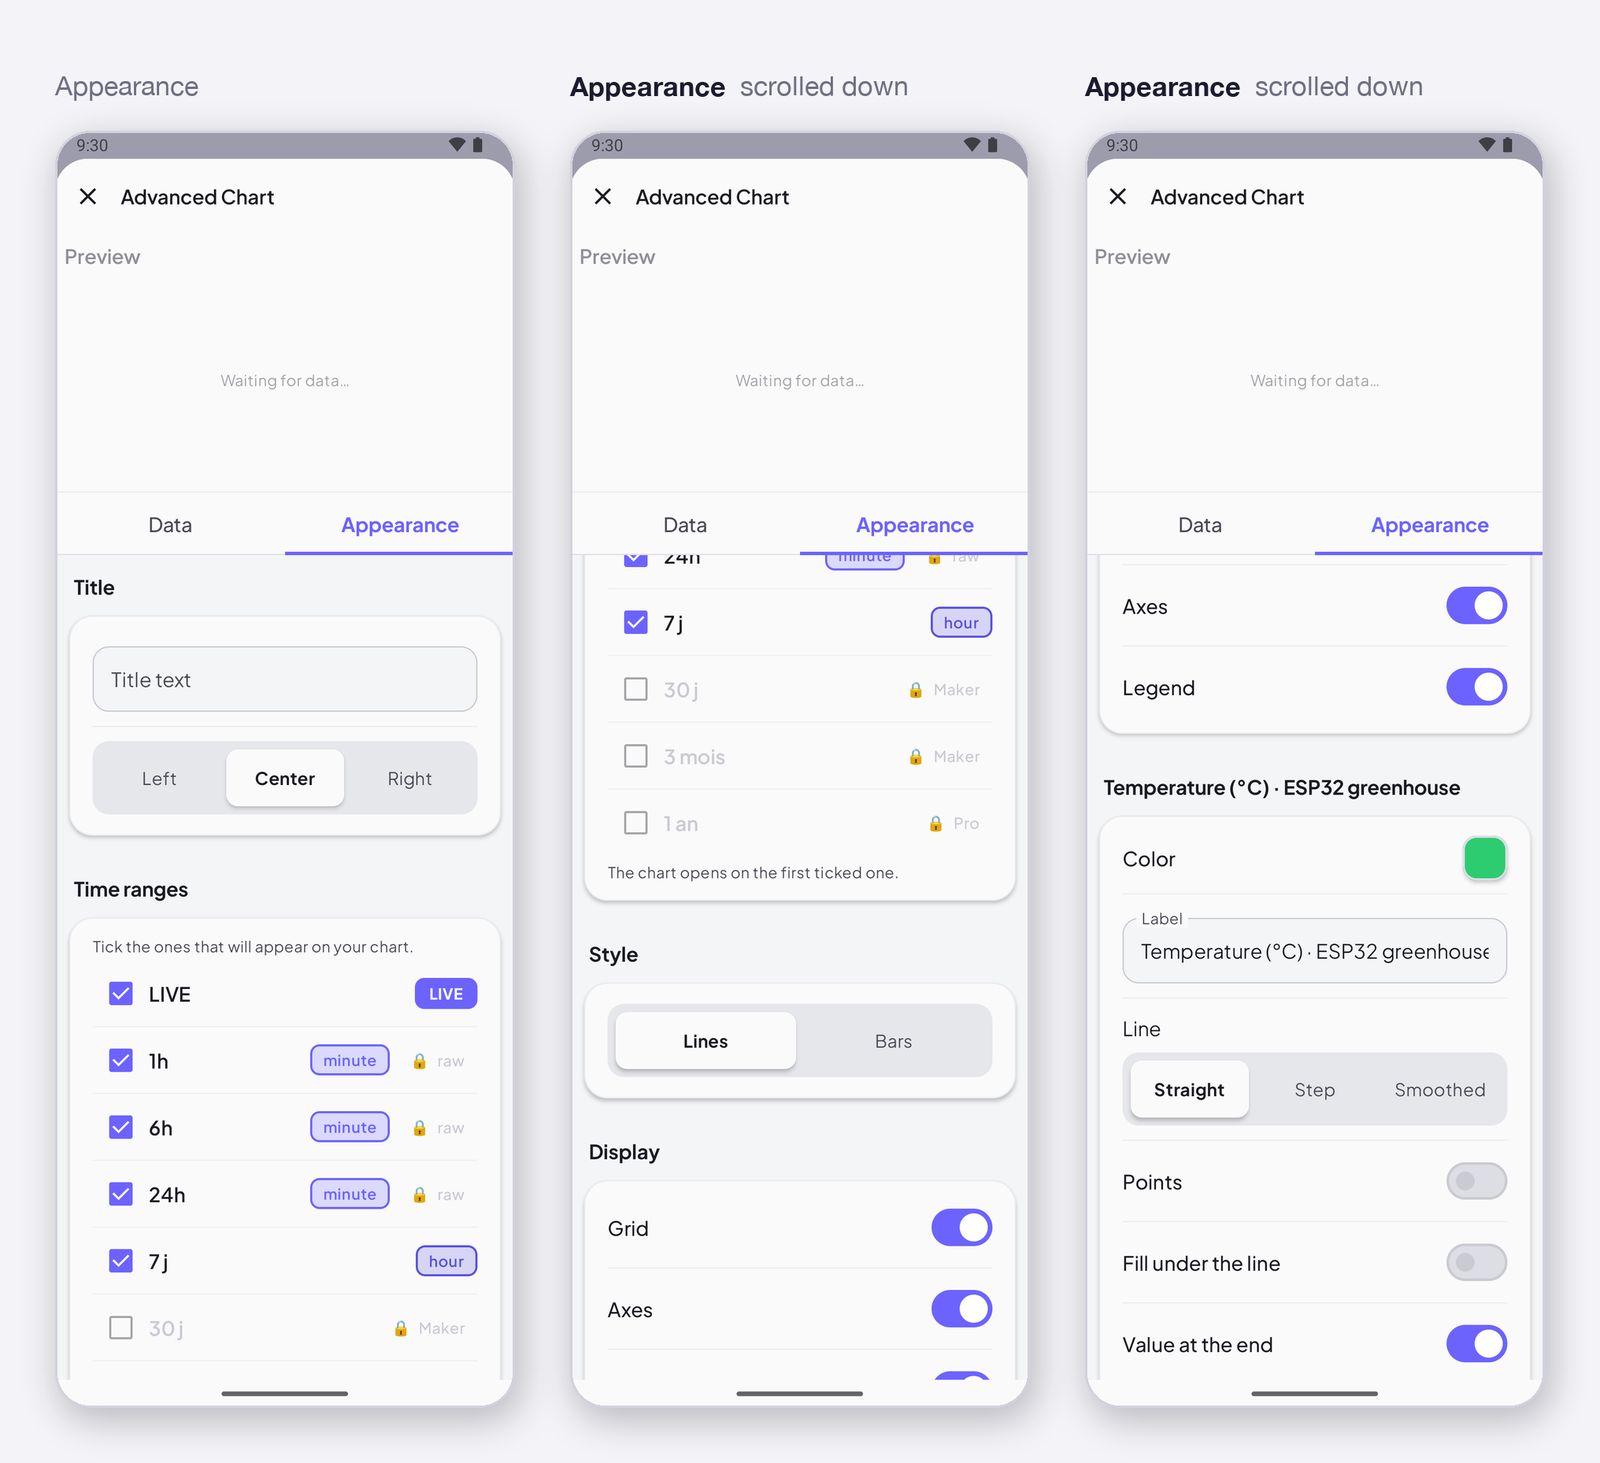
Time ranges
| Setting | Type | Default | What it controls |
|---|---|---|---|
| LIVE, 1h, 6h, 24h, 7 d | checkboxes | all ticked | The ranges offered as chips on the chart. The chart opens on the first ticked one. |
| 30 d, 3 months, 1 year | checkboxes | locked | Need a plan with a longer history — Maker keeps 3 months. |
Style
| Setting | Type | Default | What it controls |
|---|---|---|---|
| Style | Lines / Bars | Lines | Curves, or one bar per bucket. |
Display
| Setting | Type | Default | What it controls |
|---|---|---|---|
| Grid | toggle | on | |
| Axes | toggle | on | |
| Legend | toggle | on | The signal names under the chart. |
Per signal
| Setting | Type | Default | What it controls |
|---|---|---|---|
| Color | colour | one per signal | The curve’s colour. |
| Label | text | the signal’s name | The name in the legend. |
| Line | Straight / Step / Smoothed | Straight | Step for values that jump (a relay, a mode); Smoothed for slow measurements. |
| Points | toggle | off | A dot on each value. |
| Fill under the line | toggle | off | |
| Value at the end | toggle | on | The last value printed at the end of the curve. |
| Min/max band | toggle | off | A band between the bucket’s min and max around the average. |
States
- LIVE — the curve scrolls as values arrive; Points kept sets the window.
- 1h, 24h, 7 d… — read from the Cloud’s history; a signal without Curves shows nothing there.
- Waiting for data — no history yet on this range.
Arduino device code
The address is all the device knows — I1 here; use the one the app gave your signal. In the sketch, one line, once a second — the Cloud averages by the minute:
InstantIoT.write(I1, readTemperature());
Complete sketch — Cloud
Paste it into the Arduino IDE, put your Wi-Fi and the token the app gave you, upload. It publishes once a second.
#include <InstantIoT.h>

const char* WIFI_SSID    = "MyWiFi";
const char* WIFI_PASS    = "MyPassword";
const char* DEVICE_TOKEN = "PASTE_TOKEN_HERE";

InstantTimer timers;

void publish() {
    InstantIoT.write(I1, readTemperature());   // Curves history on, so 1h / 24h / 7 d have data
}

void setup() {
    InstantIoT.begin(WiFiLink(WIFI_SSID, WIFI_PASS), Cloud(DEVICE_TOKEN));
    timers.every(1000, publish);
}

void loop() {
    InstantIoT.loop();
    timers.run();
}
Other connections
The widget block never changes. Only the begin() line says how the device reaches the app:
| Connection | begin() |
Devices |
|---|---|---|
| Cloud over Wi-Fi (above) | InstantIoT.begin(WiFiLink("MyWiFi", "secret"), Cloud(DEVICE_TOKEN)); |
ESP32 family, ESP8266, UNO R4 WiFi, MKR WiFi 1010, Nano 33 IoT, UNO WiFi Rev2 |
| Cloud over Ethernet | InstantIoT.begin(EthernetLink(), Cloud(DEVICE_TOKEN)); |
any board + an Ethernet shield |
| Direct — the device’s own Wi-Fi | InstantIoT.begin(AccessPoint("MyESP32", "12345678")); |
every board with Wi-Fi |
| Direct — Bluetooth LE | InstantIoT.begin(BLELink("MyESP32")); — #include <NimBLEDevice.h> first |
ESP32 family (not the S2) |
| Direct — Bluetooth Classic | InstantIoT.begin(BluetoothLink("MyESP32")); |
the original ESP32, Android only |
| Direct — a Bluetooth module (HC-05, HM-10) | InstantIoT.begin(SerialLink(Serial1)); — or SerialLink(13, 15) on ESP8266, SerialLink(10, 11) on UNO / Nano |
every board, radio or not |
| Your own InstantIoT Server (open source, at home) | InstantIoT.begin(WiFiLink("MyWiFi", "secret"), MyServer("192.168.1.42", DEVICE_TOKEN)); |
same as Cloud |
Direct needs no token: the phone is at the other end of the wire. See Connect for TLS, timeouts and what to do when it does not connect.
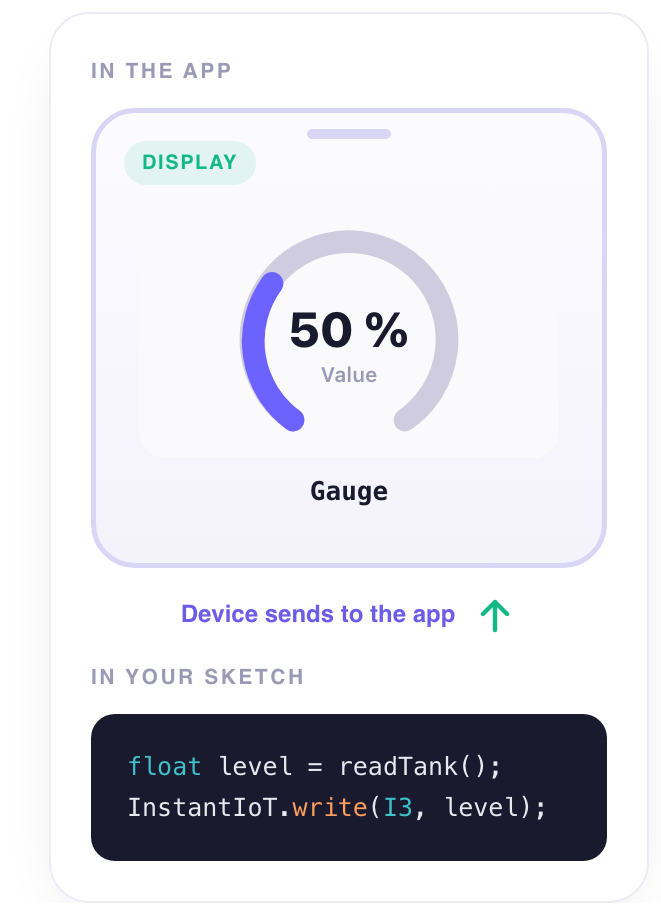
Any display works at the same address. A metric, a gauge and this widget on the same signal show the same value; the device does not change. Change the widget, not the sketch.
Notes
- Turn on Curves on the signal, or only LIVE has anything to show. Curves count against your plan’s signals with history (6 on Free, 40 on Maker).
- Once a second from the device is plenty: the Cloud averages by the minute anyway.
- Step lines suit values that jump; Smoothed suits slow physical measurements.
Next
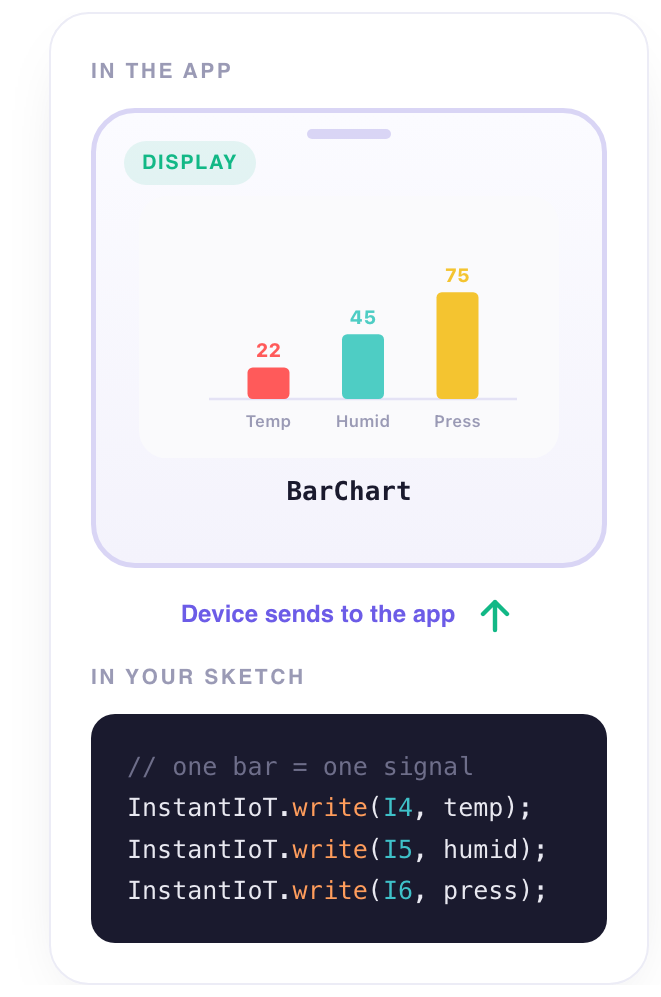
→ Bar Chart — compare several signals now → Gauge — one value in its range