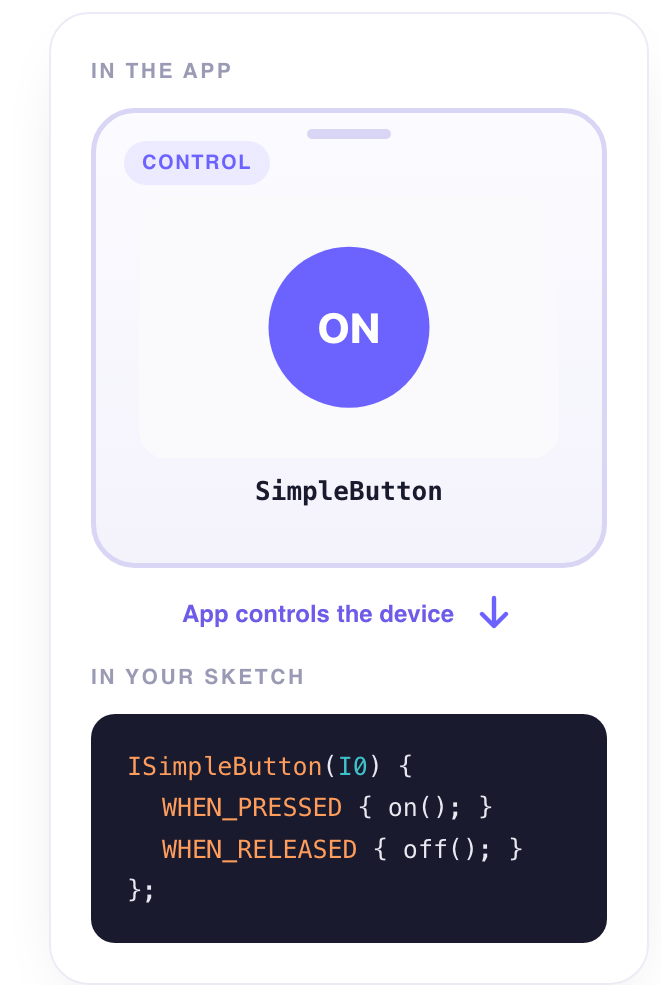
A round push button. Tap it and the device knows; let go and the device knows that too. It is the first widget most people place — the Cloud quick start builds a dashboard with just this one and an LED.
What it does
Every tap writes to the signal it is wired to. In Toggle mode (the default) each tap flips the value between 1 and 0 and the button stays lit — a light switch. In Push mode a press writes 1 and the release writes 0, so the device can do one thing while the finger is down and another when it lifts — a doorbell. A press held for half a second is a long press, which the device can treat differently.
When to use it
- Something that happens once — open a gate, take a photo, reset a counter. Push mode: a press is a gesture, not a value to keep.
- Hold to run — a motor that turns while the finger is down and stops when it lifts (Push mode).
- A simple on/off with feedback — Toggle mode lights the button while it is on. For a state the device must find again after a restart, prefer a Switch.
Set it up
- Place it — Open your dashboard in edit mode and tap the + button at the bottom. In the widget list, under Controllers, choose Simple Button: it lands on the grid. Drag it where you want it and pull the corner to resize it.
- Wire it to a signal — Tap the button: its settings open. In the Data tab, tap + Add a target and pick an Integer signal on your device — LED, for example. From now on, every tap writes to that signal.
- Choose the mode — Still in the Data tab, pick the Mode: Push if a press is a gesture (a doorbell), Toggle if it is a state (a light switch).
- Try it — Close the settings and tap ▶ at the top right to switch to Run mode. Tap the button: the device receives
1.
Settings
Tap the widget in edit mode: the sheet opens with a live preview at the top, then two tabs — Data for what it reads or writes, Appearance for how it looks.
Data — what it writes
Targets
| Setting | Type | Default | What it controls |
|---|---|---|---|
| Targets | list of signals | empty — No target yet. The tap goes nowhere. | The signal the widget writes to. Accepts an Integer or Decimal signal — Integer in practice, it writes 1 and 0. The picker lists nothing else. + Add a target for a second device: every target gets the value. |
Mode
| Setting | Type | Default | What it controls |
|---|---|---|---|
| Mode | Push / Toggle | Toggle | Push: 1 on press, 0 on release. Toggle: each tap flips between 1 and 0. |
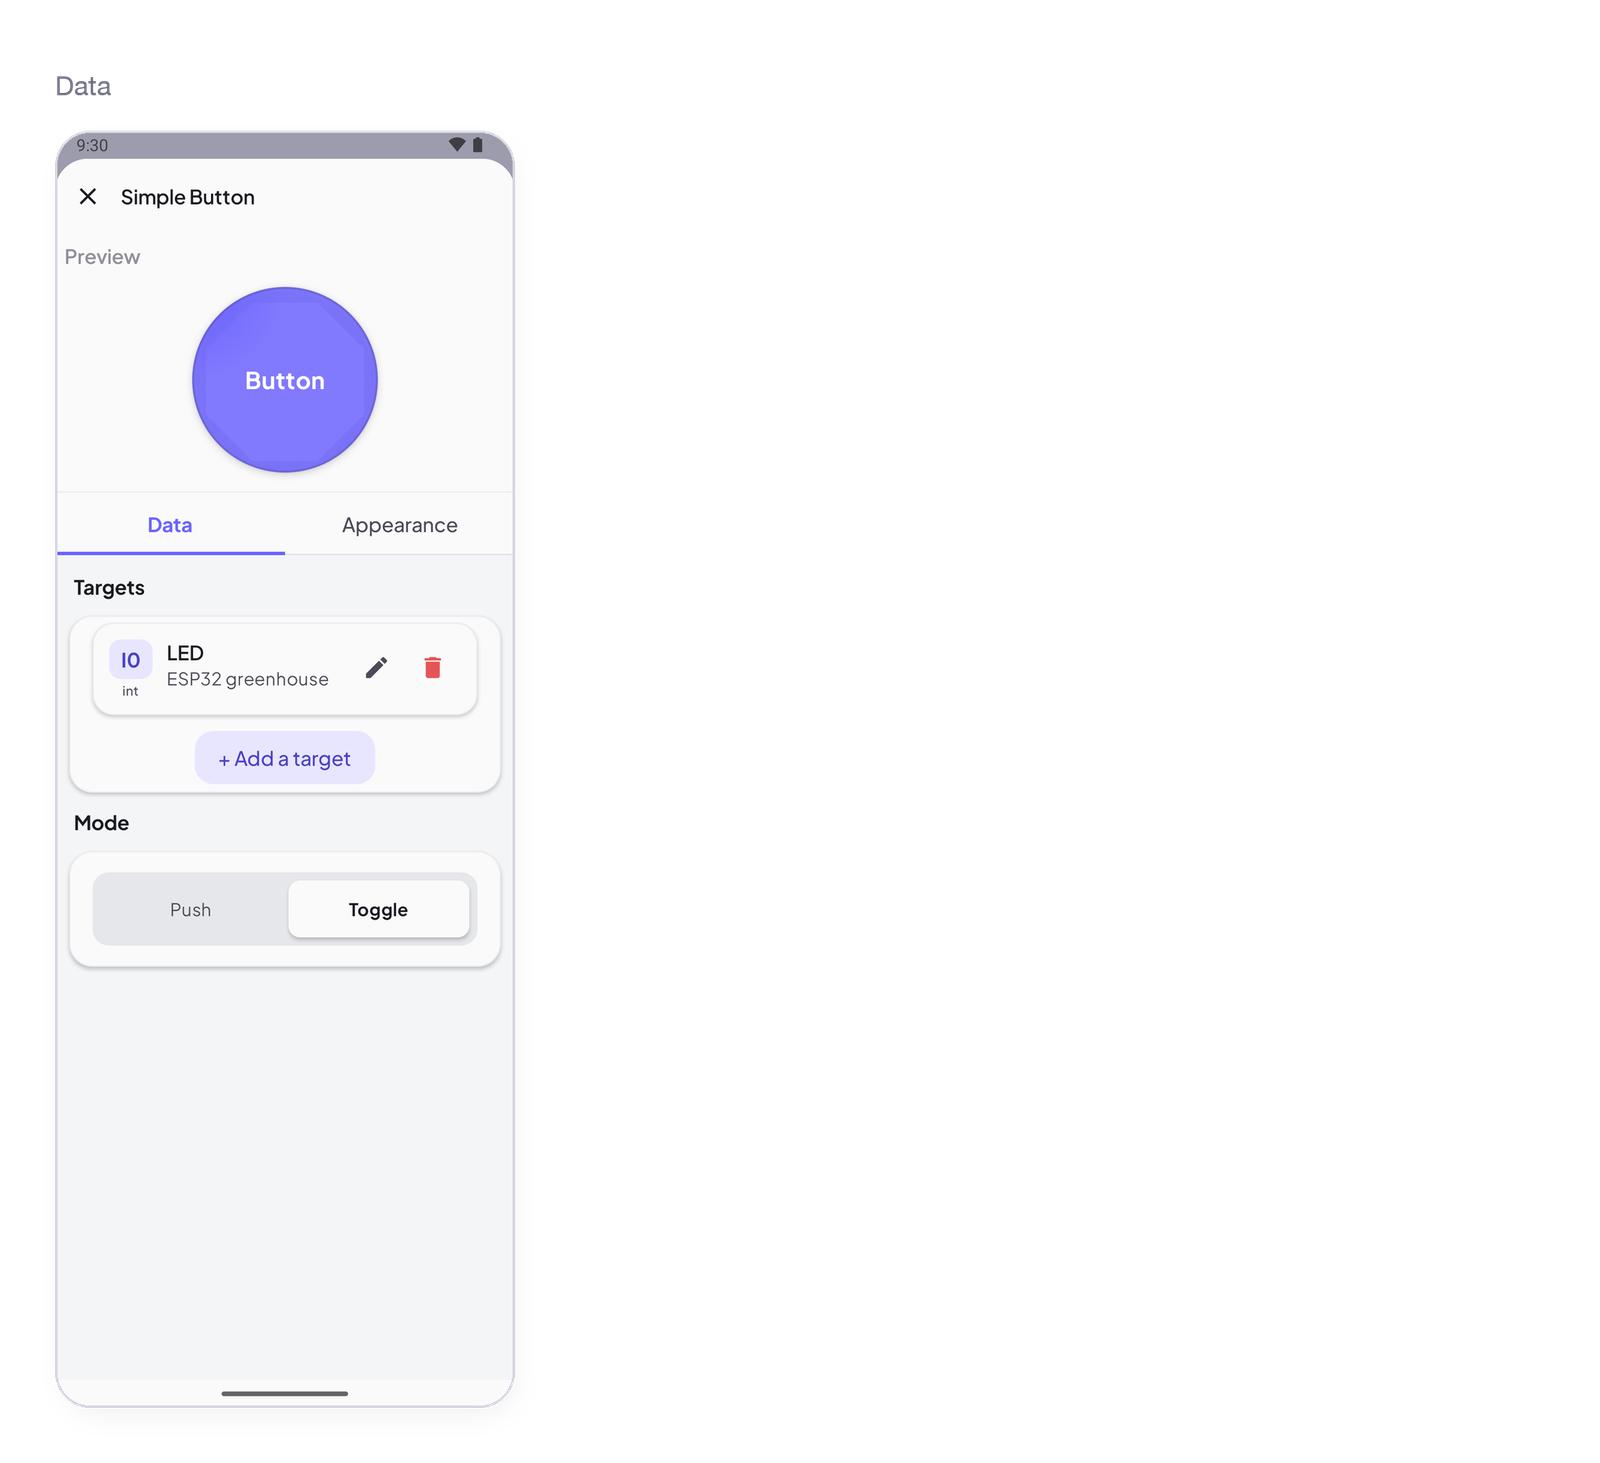
Appearance — how it looks
Title
| Setting | Type | Default | What it controls |
|---|---|---|---|
| Title text | text | empty | A title above the widget. Empty means no title. |
| Alignment | Left / Center / Right | Center | Where the title sits. |
On
| Setting | Type | Default | What it controls |
|---|---|---|---|
| Label | text | empty | The text on the button while it is on (Toggle) or pressed (Push). |
| Background | colour | theme accent | The button’s background in that state. |
| Text | colour | theme | The label colour in that state. |
Off
| Setting | Type | Default | What it controls |
|---|---|---|---|
| Label | text | Button | The text on the button at rest. |
| Background | colour | theme | The background at rest. |
| Text | colour | theme | The label colour at rest. |
States
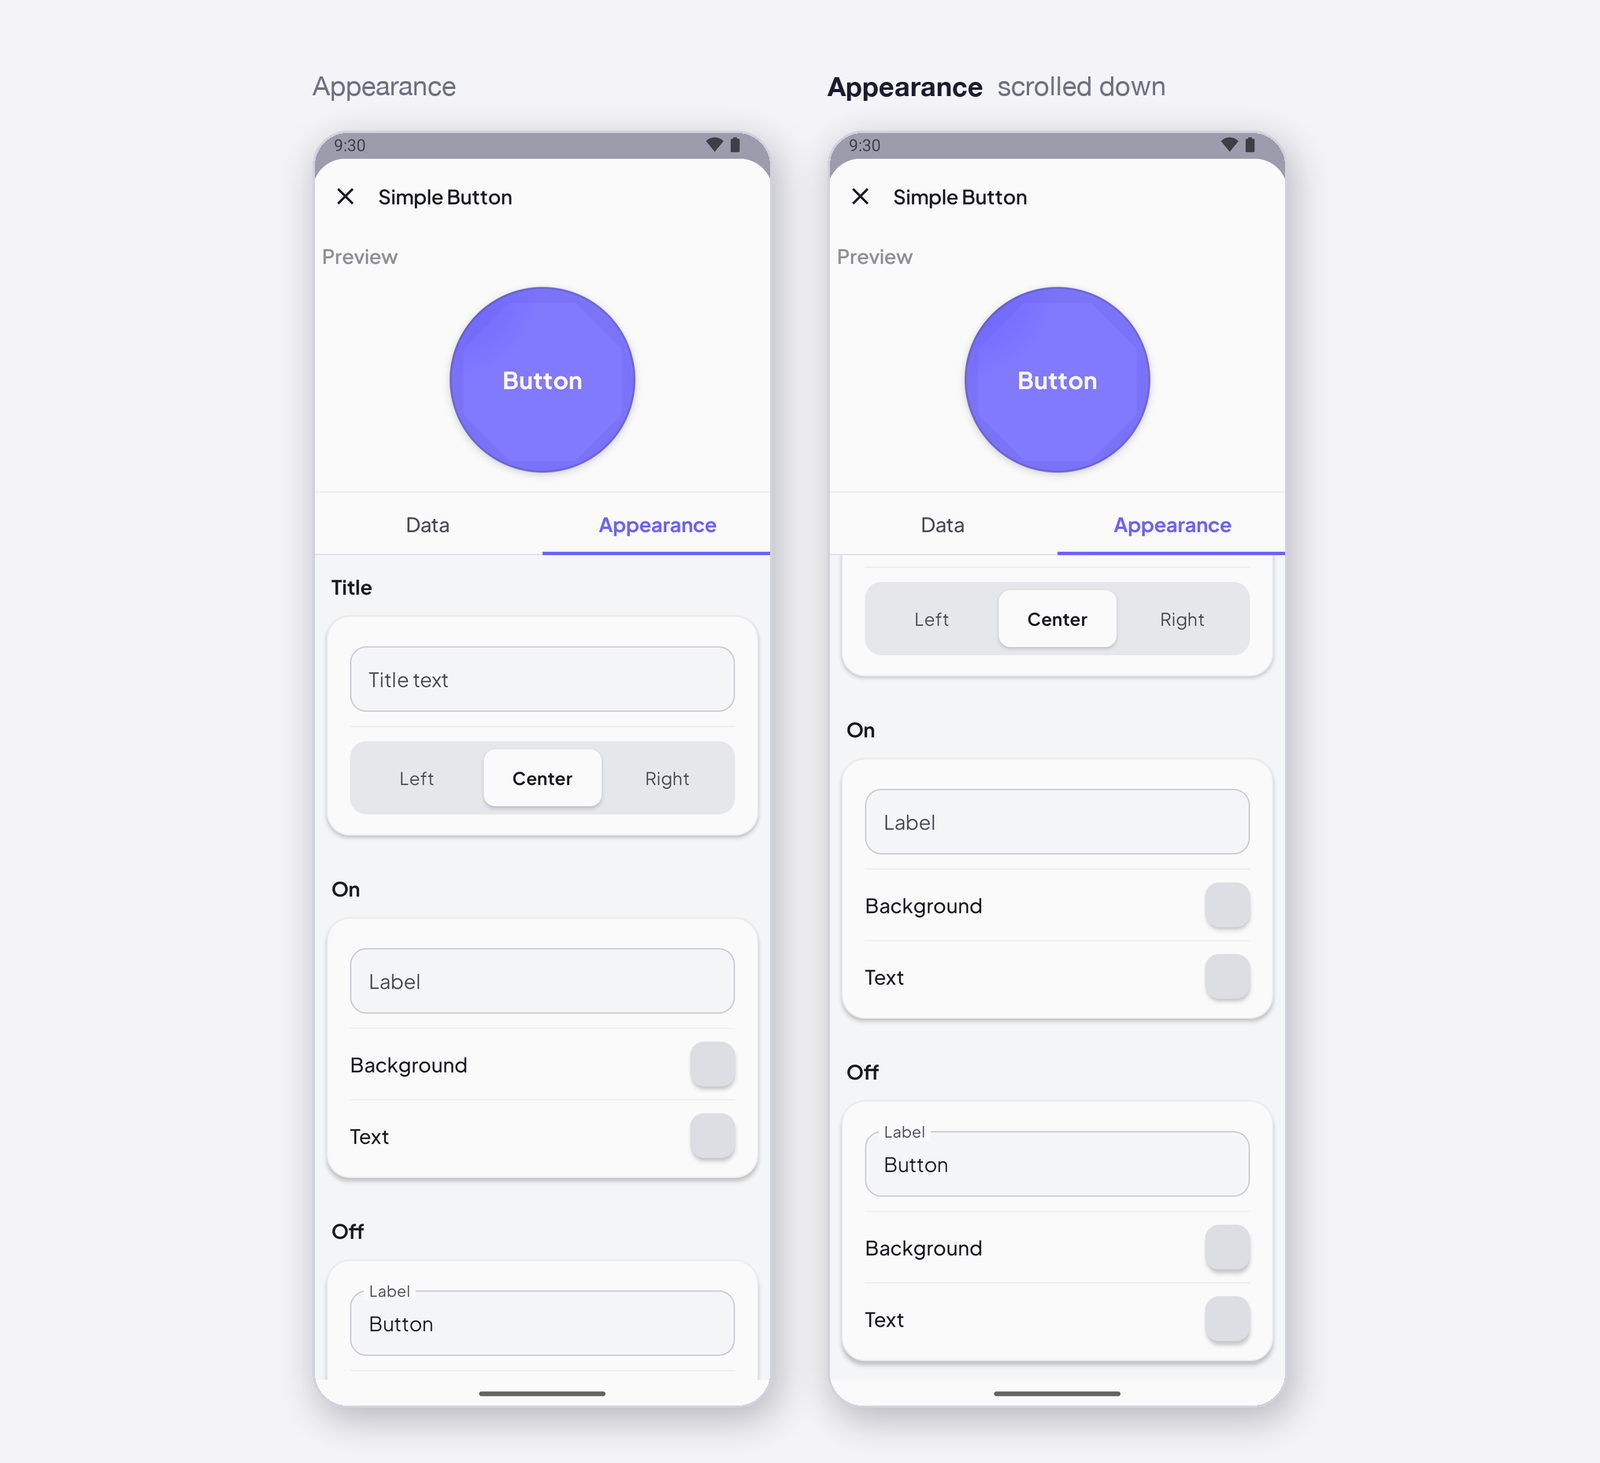
- Edit mode — a tap opens the settings; nothing is sent.
- Run mode (▶) — a tap commands. Push: lit while held. Toggle: lit while on.
- Long press — half a second; the device sees
WHEN_LONG_PRESSED. - Device offline — the value goes to the Cloud; the device gets nothing until it is back. A gesture is never replayed.
Arduino device code
The address is all the device knows — I0 here; use the one the app gave your signal. In the sketch, the block that runs on every gesture:
ISimpleButton(I0) {
    WHEN_PRESSED      { … }
    WHEN_RELEASED     { … }
    WHEN_LONG_PRESSED { … }
};
Complete sketch — Cloud
Paste it into the Arduino IDE, put your Wi-Fi and the token the app gave you, upload.
#include <InstantIoT.h>

const char* WIFI_SSID    = "MyWiFi";
const char* WIFI_PASS    = "MyPassword";
const char* DEVICE_TOKEN = "PASTE_TOKEN_HERE";

const int LED = 2;   // the ESP32 built-in LED

ISimpleButton(I0) {
    WHEN_PRESSED      { digitalWrite(LED, HIGH); }
    WHEN_RELEASED     { digitalWrite(LED, LOW);  }
    WHEN_LONG_PRESSED { Serial.println("held");  }
};

void setup() {
    Serial.begin(115200);
    pinMode(LED, OUTPUT);
    InstantIoT.begin(WiFiLink(WIFI_SSID, WIFI_PASS), Cloud(DEVICE_TOKEN));
}

void loop() {
    InstantIoT.loop();
}
Other connections
The widget block never changes. Only the begin() line says how the device reaches the app:
| Connection | begin() |
Devices |
|---|---|---|
| Cloud over Wi-Fi (above) | InstantIoT.begin(WiFiLink("MyWiFi", "secret"), Cloud(DEVICE_TOKEN)); |
ESP32 family, ESP8266, UNO R4 WiFi, MKR WiFi 1010, Nano 33 IoT, UNO WiFi Rev2 |
| Cloud over Ethernet | InstantIoT.begin(EthernetLink(), Cloud(DEVICE_TOKEN)); |
any board + an Ethernet shield |
| Direct — the device’s own Wi-Fi | InstantIoT.begin(AccessPoint("MyESP32", "12345678")); |
every board with Wi-Fi |
| Direct — Bluetooth LE | InstantIoT.begin(BLELink("MyESP32")); — #include <NimBLEDevice.h> first |
ESP32 family (not the S2) |
| Direct — Bluetooth Classic | InstantIoT.begin(BluetoothLink("MyESP32")); |
the original ESP32, Android only |
| Direct — a Bluetooth module (HC-05, HM-10) | InstantIoT.begin(SerialLink(Serial1)); — or SerialLink(13, 15) on ESP8266, SerialLink(10, 11) on UNO / Nano |
every board, radio or not |
| Your own InstantIoT Server (open source, at home) | InstantIoT.begin(WiFiLink("MyWiFi", "secret"), MyServer("192.168.1.42", DEVICE_TOKEN)); |
same as Cloud |
Direct needs no token: the phone is at the other end of the wire. See Connect for TLS, timeouts and what to do when it does not connect.
ISignaldoes the same job — and survives a restart.ISignal(I0, int v)runs with exactly the same value asISimpleButton(I0): the widget block is the readable form,ISignalthe generic one, and you can use either. The difference shows when the device reconnects: with Restore after a restart on the signal, the Cloud sends the last value again and only theISignalblock runs — a button is a gesture: nobody pressed after the restart, so nothing is replayed, and that is exactly right. See One block for everything.
Notes
- Wire it to an Integer signal: a button writes whole numbers.
- Keep the code inside
WHEN_PRESSEDshort. Adelay()in there blocks the device, and the release arrives late. - In Toggle mode the button remembers its state on the phone, not on the device. For a state the device must keep, use a Switch and
ISignal.
Next
→ Advanced Button — a label, an icon, and a value of your choice per gesture → Switch — a state that stays, and comes back after a restart