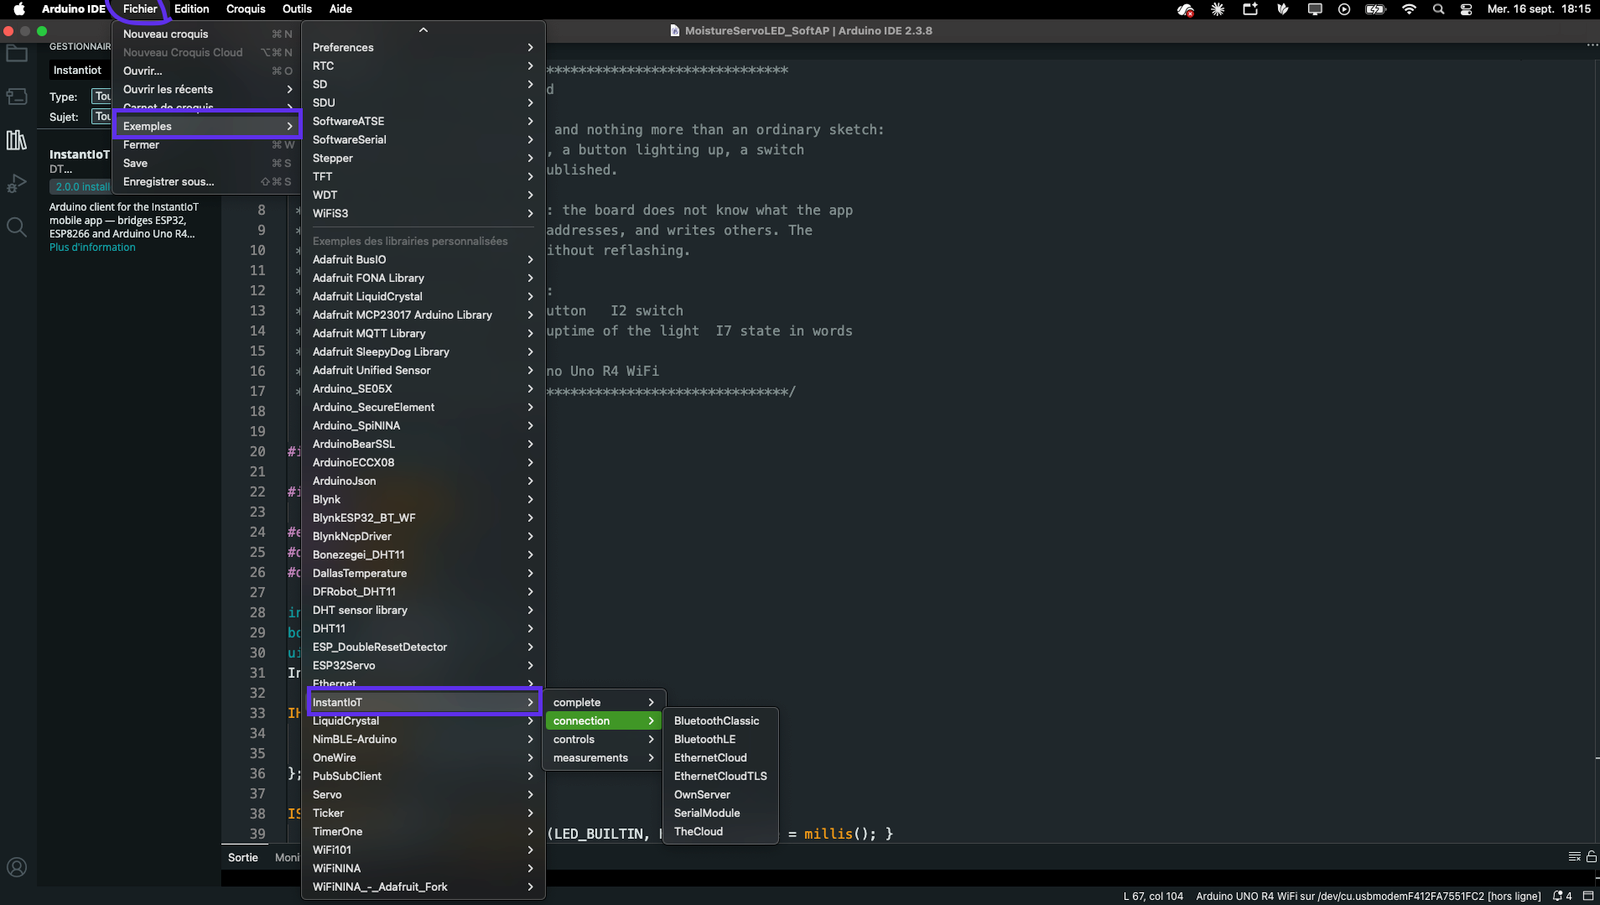
The library ships with ready-to-upload sketches, one per connection, one per control and one per measurement, plus three complete projects. This page says what each one does, so you can open the right one from File → Examples → InstantIoT in the Arduino IDE.
| Folder | What it shows |
|---|---|
connection/ |
TheCloud, OwnServer, EthernetCloud, BluetoothLE, BluetoothClassic, SerialModule — the shortest sketch that connects, one per link |
controls/ |
the nine control blocks: SimpleButton, AdvancedButton, EmergencyButton, DirectionPad, HorizontalSlider, VerticalSlider, Joystick, Switch, SegmentedSwitch |
measurements/ |
UltrasonicLevel (HC-SR04), AnalogTemperature (LM35, no library to install), TextAndState |
complete/ |
Thermostat (both directions, with replay), Dashboard, Diagnostic |
The measurement examples are named after the sensor, not the widget — because the widget is not the sketch’s business. Each one says which widget to put on which address in the app, and that another would do just as well.
Every example opens its own Wi-Fi network (AccessPoint("InstantIoT_…", "12345678")) so it runs with nothing to set up: create a Direct project, declare the signals the header of the sketch lists, connect. For the Cloud, replace that one line with WiFiLink(ssid, password), Cloud(TOKEN) — nothing else changes.
connection/ — the shortest sketch that connects
Seven sketches, one per link, all with the same button on I0 and the same measure on I1, so the only line that differs is begin(). TheCloud is the one to start from:
#include <InstantIoT.h>

const char* WIFI_SSID    = "MyWiFi";
const char* WIFI_PASS    = "MyPassword";
const char* DEVICE_TOKEN = "PASTE_TOKEN_HERE";
InstantTimer timers;

ISimpleButton(I0) {
    WHEN_PRESSED  { digitalWrite(LED_BUILTIN, HIGH); }
    WHEN_RELEASED { digitalWrite(LED_BUILTIN, LOW);  }
};

void publish() { InstantIoT.write(I1, analogRead(A0) * 3.3 / 4095.0); }

void setup() {
    pinMode(LED_BUILTIN, OUTPUT);
    InstantIoT.begin(WiFiLink(WIFI_SSID, WIFI_PASS), Cloud(DEVICE_TOKEN));
    timers.every(2000, publish);
}

void loop() { InstantIoT.loop(); timers.run(); }
OwnServer says MyServer(host, TOKEN) instead; EthernetCloud and EthernetCloudTLS add #define INSTANTIOT_ETHERNET 1; BluetoothLE adds #include <NimBLEDevice.h> and BLELink(name); BluetoothClassic is BluetoothLink(name); SerialModule picks SerialLink(Serial1) or SerialLink(rx, tx) from the board. Each header says what to install and which Tools menu to set. In the app: a Simple Button on I0, a Decimal signal on I1.
controls/ — one block each
Nine sketches, one control, one pin. SimpleButton:
#include <InstantIoT.h>

ISimpleButton(I0) {
    WHEN_PRESSED      { digitalWrite(LED_BUILTIN, HIGH); }
    WHEN_RELEASED     { digitalWrite(LED_BUILTIN, LOW);  }
    WHEN_LONG_PRESSED { InstantIoT.write(I1, "long press"); }   // answers on a Text signal
};

void setup() {
    pinMode(LED_BUILTIN, OUTPUT);
    InstantIoT.begin(AccessPoint("InstantIoT_Button", "12345678"));
}

void loop() { InstantIoT.loop(); }
HorizontalSlider is the same shape with the value in the head — IHorizontalSlider(I0, float value) { analogWrite(PWM_PIN, (int)(value * 255.0f / 100.0f)); }; — and so are VerticalSlider, Switch, SegmentedSwitch and Joystick; AdvancedButton, EmergencyButton and DirectionPad use WHEN_ clauses. In the app: the widget of the same name on I0.
measurements/ — named after the sensor
The sketch reads a sensor and writes a value; which widget shows it is decided in the app. AnalogTemperature — an LM35, no library to install — also takes a threshold from the app and publishes whether it is crossed:
#include <InstantIoT.h>

#define SENSOR_PIN A0                   // 34 on an ESP32
float alertThreshold = 30.0f;
InstantTimer timers;

float temperature() { return analogRead(SENSOR_PIN) * 3.3f / 4095.0f * 100.0f; }

ISignal(I2, float threshold) { alertThreshold = threshold; };   // a slider, a metric, or a rule sets it

void publish() {
    float t = temperature();
    InstantIoT.write(I0, t);                    // Decimal — a gauge, a chart
    InstantIoT.write(I1, t > alertThreshold);   // Boolean — an LED
}

void setup() {
    InstantIoT.begin(AccessPoint("InstantIoT_Temperature", "12345678"));
    timers.every(2000, publish);
}

void loop() { InstantIoT.loop(); timers.run(); }
UltrasonicLevel turns an HC-SR04 echo into a tank percentage on I0; TextAndState writes a mode name (Text), a state (Boolean) and a counter (Integer) from one segmented switch. In the app: a gauge or a chart on I0, an LED on I1, a slider on I2.
complete/ — three projects
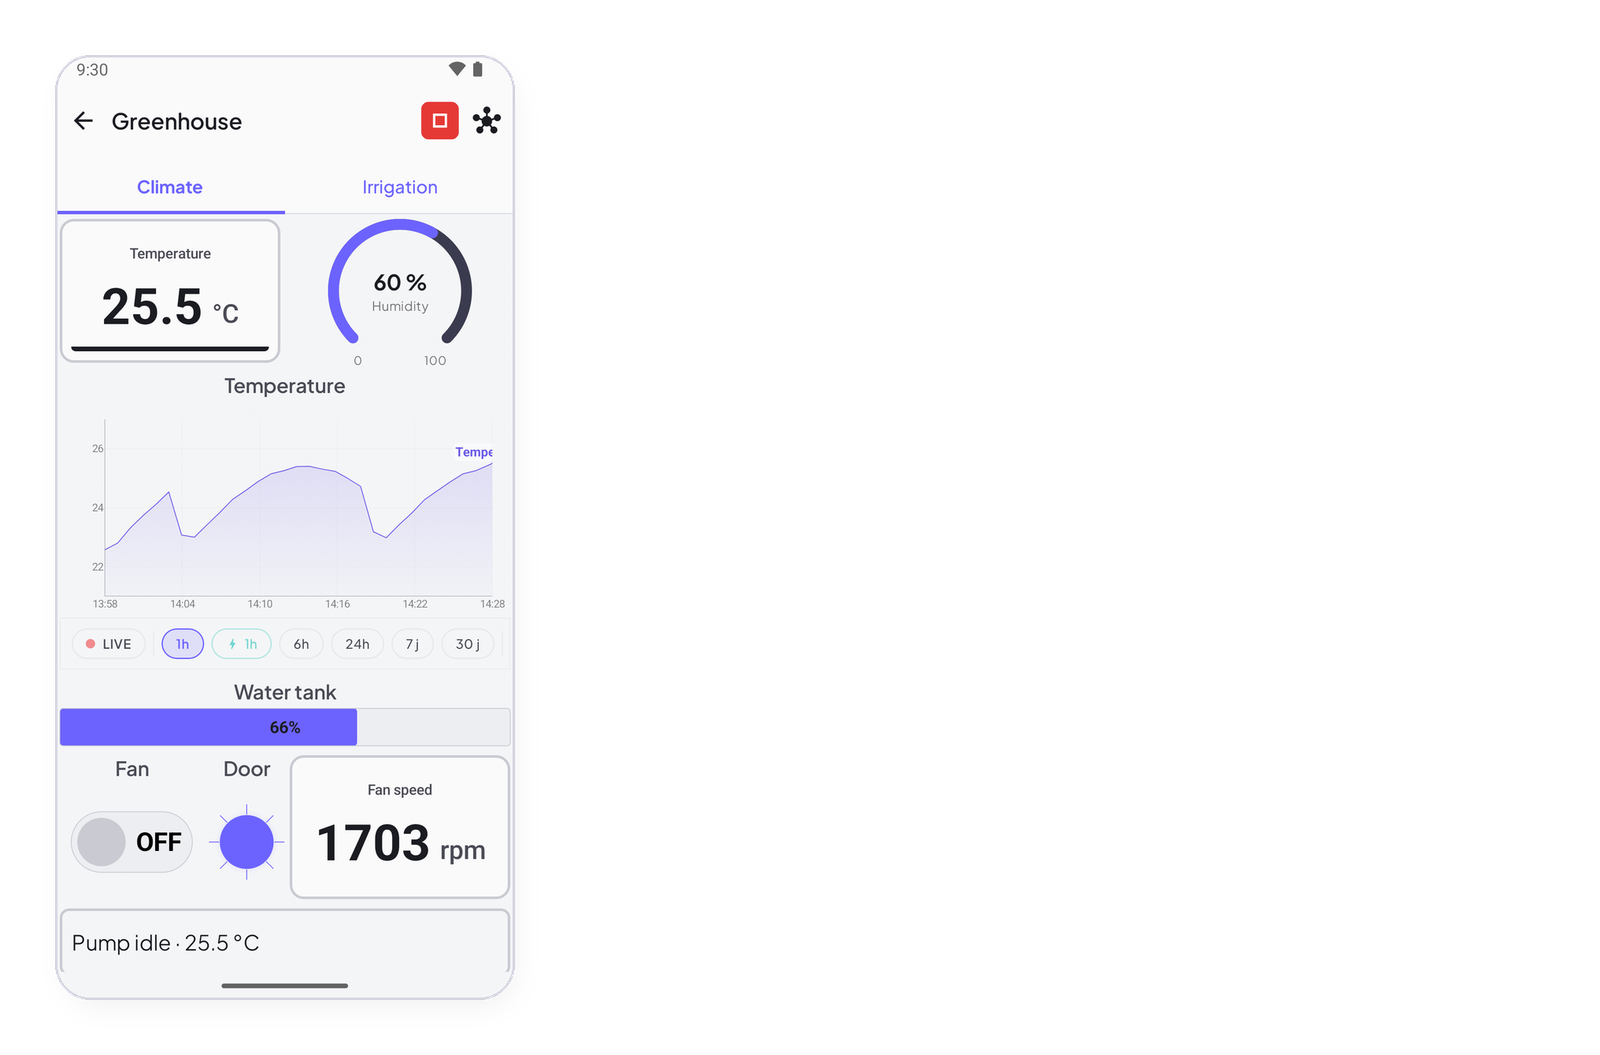
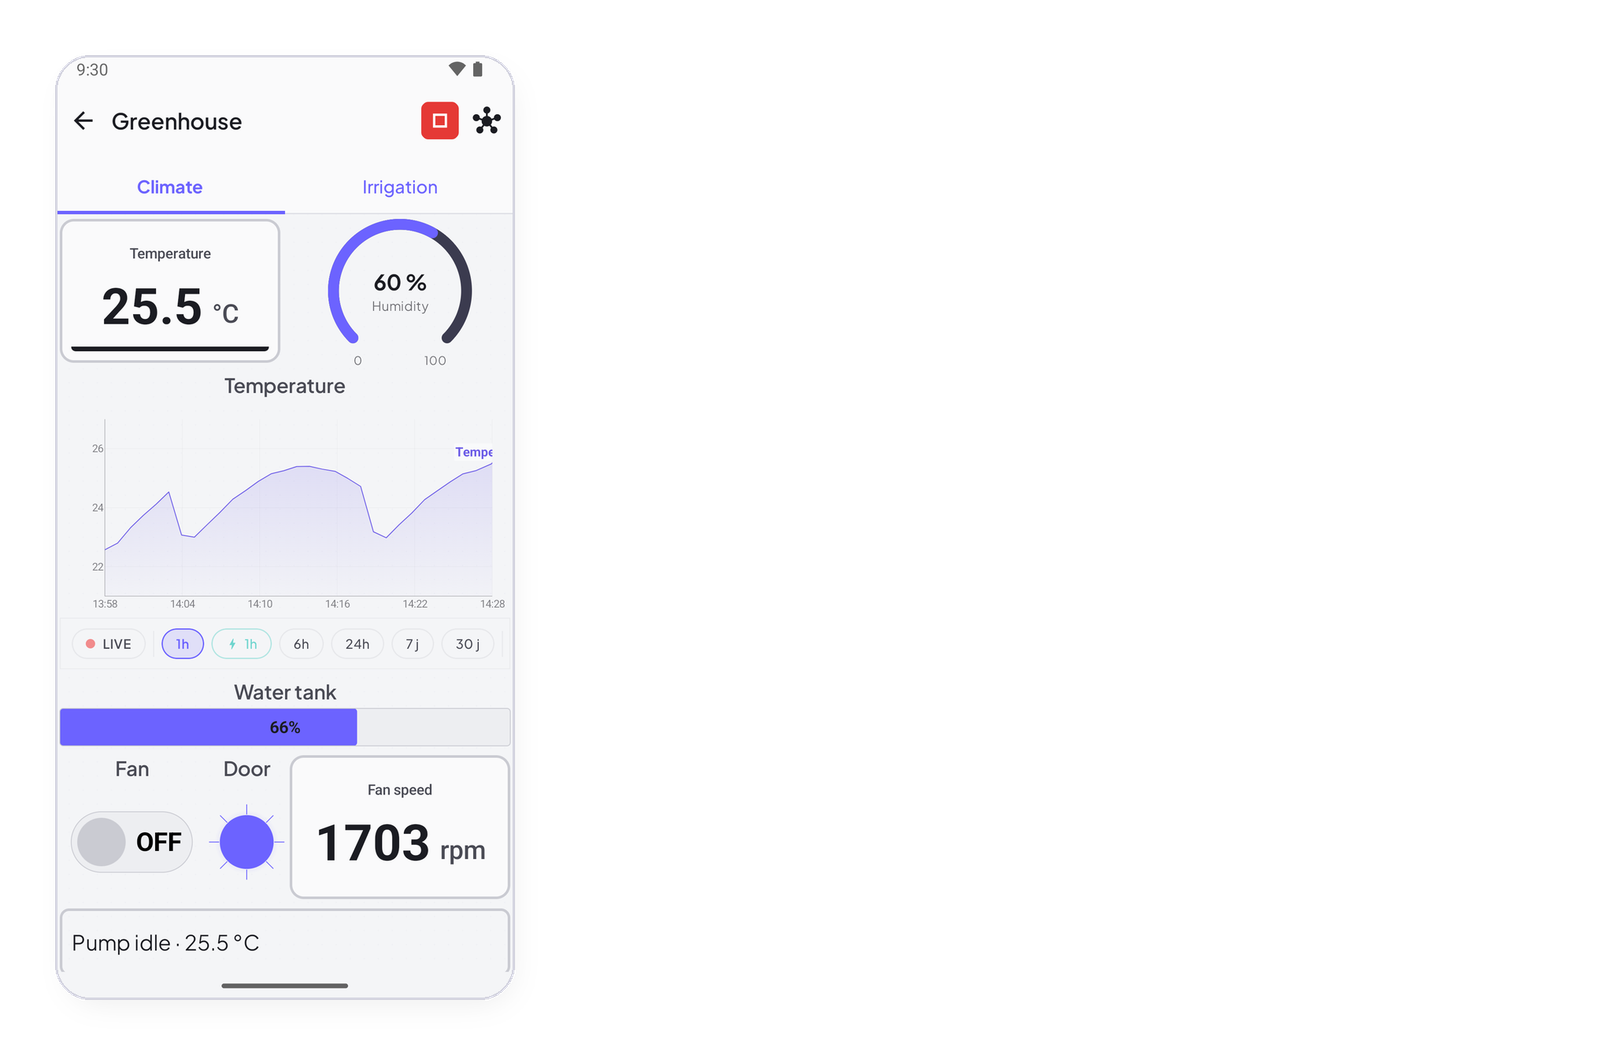
Dashboard is the one on the screenshots: a slider dims a PWM output, a button lights the LED, a switch closes a relay, and three values come back — the intensity, how long the LED has been lit, the relay’s state in words. Diagnostic is for a device that will not connect: once a second it says on the Serial monitor and with the LED whether it has joined the Wi-Fi, the server, or neither, and what to check. Thermostat is below.
Thermostat, in twenty lines
#include <InstantIoT.h>

float target = 20.0;
InstantTimer timers;

ISignal(I1, float setpoint) { target = setpoint; };       // the app sets it — replayed on reboot

void publish() {
    float t = readTemperature();
    InstantIoT.write(I0, t);                                 // the app shows it
    digitalWrite(HEATER, t < target);
}

void setup() {
    InstantIoT.begin(WiFiLink("MyWiFi", "secret"), Cloud(TOKEN));
    timers.every(2000, publish);
}
void loop() { InstantIoT.loop(); timers.run(); }
In the app: a gauge on I0, a slider on I1 with Restore after a restart on, and — if you like — a rule when I0 drops below 5, send a notification. Unplug the device, plug it back: I1 runs again with the last setpoint.